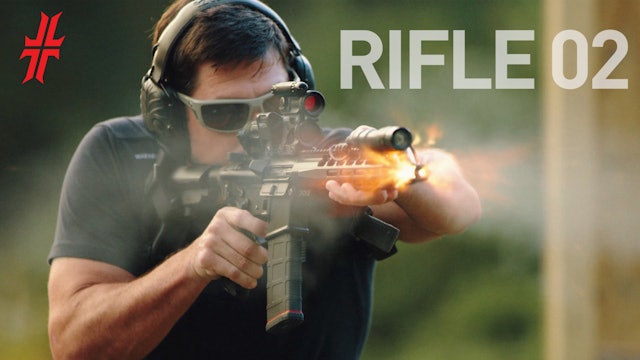
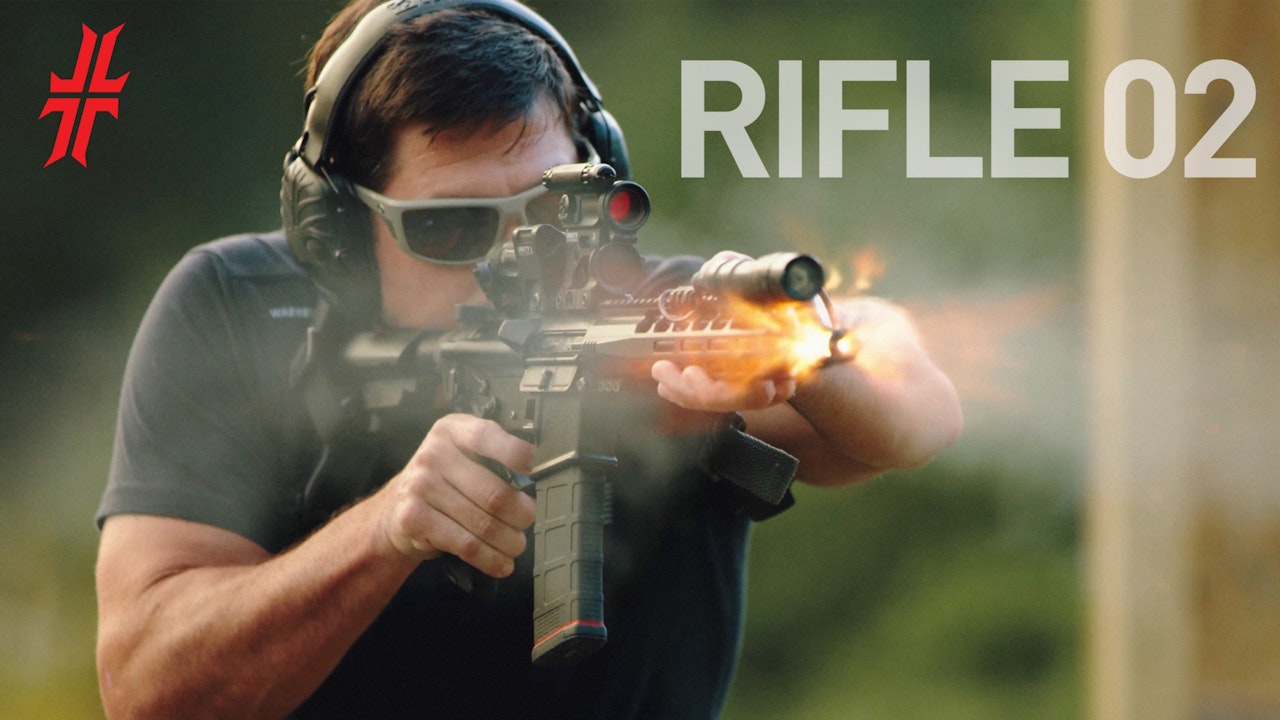
Rifle 2
13 Episodes
This course begins with a review of safety protocols and an audit of each individual’s shooting fundamentals. During this course, students will be introduced to movement, use of cover and/or concealment, alternate body positions, scenario based stress fires, fighter mindset, and more!
-
 02:49Episode 1
Introduction | Chapter 1
Episode 1
John previews the Rifle 2 course with an overview of taking the Rifle 1 skills to a 3D battlefield with movement, cover and concealment, timing. How to interact with cover and concealment. Transitioning body positions from standing to kneeling to prone.
-
 09:52Episode 2
WARMUP AND REVIEW | Chapter 2
Episode 2
John gets you ready for Rifle 2 with a quick review of Rifle 1 skills that refine the ready up positions. A review of universal firearm safety rules and range safety review. Live fire warmup with adjustments. Zero your optics.
-
 22:43Episode 3
TURNS | Chapter 3
Episode 3
John teaches movement with the rifle from a good fighting stance to turn 90 degrees in a different direction. Full 180 degree turns require precision to regain a good fighting stance. Dry fire reps hone the skills and then take it to the range with live fire.
-
 16:03Episode 4
CHANGING BODY POSITIONS | Chapter 4
Episode 4
John gives real world instruction on changing body positions. Moving in and out of body positions is very important, and must be done correctly. Make these position changes fast, efficient, and safely.
-
CHANGING BODY POSITIONS DRILLS | Chapter 5
Episode 5
John works through drill exercises with dry fire repetitions. The technics of standing, kneeling, sitting, prone, and sprawling are refined. Then put into action with live fire on the range.
-
 08:17Episode 6
ALTERNATE PRONE | Chapter 6
Episode 6
John teaches alternate prone positions that allow for adaptation in a real world context. Urban prone and fetal prone are two effective alternatives, which can be used in relation to vehicle cover.
-
 12:51Episode 7
COVER AND CONCEALMENT | Chapter 7
Episode 7
John demonstrates a force on force drill with a dry fire exercise using a piece of cover. Sneaky is not sneaky. Flagging your position can be deadly. Never let the enemy see you coming.
-
 11:41Episode 8
SHOULDER TRANSITION | Chapter 8
Episode 8
John teaches the proper technic for shoulder transitions, which can be used in variable cover and concealment scenarios. Strong side versus support side shooting requires practice to plus up your skills. The Lovell Lean keeps you on your right eye, but requires practice for perfection.
-
 15:45Episode 9
ESB, LOA and Zombies | Chapter 9
Episode 9
John drills down on LOA - Limit of Advance - to preserve the cover safety line without flagging. The ESB or Eye, Shoulder, Base allows you to present a minimal target without canting your rifle. Effective cover allows you to present your own ambush.
-
 07:07Episode 10
C-CLAMP | Chapter 10
Episode 10
John teaches a technic for bracing your rifle to a piece of cover that provides a more stable setup for accurate shooting, depending on the context.
-
 13:35Episode 11
SHOOTING AND MOVING | Chapter 11
Episode 11
John teaches how to minimize yourself as a target and shoot effectively while moving as fast as possible. Heel to toe and weight shift provide the support to keep your rifle steady.
-
 08:55Episode 12
PUTTING IT ALL TOGETHER | Chapter 12
Episode 12
John works through a live fire drill with an overview of the Rifle 2 skills and tactics. Stress is added to provide a simulated combat environment. The stress fire makes you put it all together.
-
 04:40Episode 13
CLOSING | Chapter 13
Episode 13
John reminds us to practice the 3 big things covered in Rifle 2, which are cover and concealment, movement, and body positions with transitions. These need to be practiced over and over.

